The Holy Grail of AI Art: How to Create Consistent Characters Across Multiple Images
If you’ve ever tried creating a character in AI art, you already know the frustration. One image turns out perfect. You try to recreate it — and suddenly the face changes. The hairstyle’s different. The outfit shifts from futuristic armour to a bathrobe. What happened?
Be it design of a comic book, illustration of a child book or game building, consistency is important. And AI art, while magical, doesn’t make that easy by default.
This guide is for digital creators who want more control. In case you are done with random results and would love to know how to construct repeatable, more professional-looking character art, you are on the right page.
So, what exactly is behind this occurrence? How could this be amended? We should have a step-by-step way of looking at this.
Understanding Why AI Struggles With Character Consistency
AI image generators work by interpreting your prompt and turning it into visual elements. Every word you write changes the way the AI “sees” your request. That’s powerful — but also risky.
When you’re generating a new image, the AI isn’t actually “remembering” your previous one. It’s generating fresh from scratch — like a new artist sketching a scene based on vague instructions. Even small changes in words can cause big visual shifts.
That’s why you get:
Characters that change hair color or face shape
Clothing that evolves between generations
Facial expressions that no longer match your intent
The good news? There are ways to guide the model into doing what you want — reliably.
Step 1: Define Your Character First
Before you ever open an AI art tool, you need a clear definition. Don’t leave it up to chance.
Start by writing a short visual description of your character:
Name and age
Gender and ethnicity (if Gender and ethnicity (in case there are))
Hair style and colour
Eye color
Clothing and style
Mood or typical facial expression
Here’s an example:
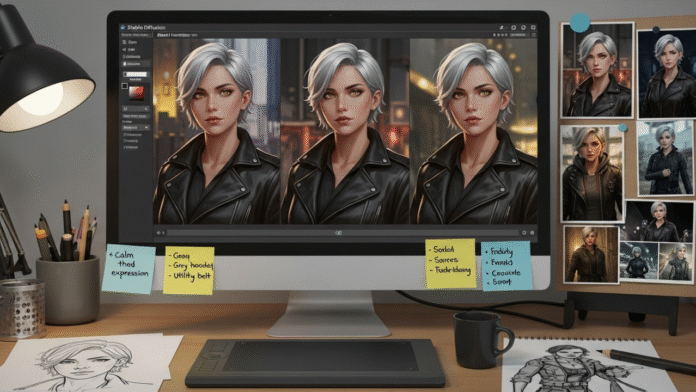
A 22-year old girl, named Lira, has short silver hair and a golden eye. She has a dark leather jacket over grey hoodie, a utility belt and some fingerless gloves. She has a concentrative, calm and somewhat defiant expression in her face.”
That paragraph becomes your anchor. Every prompt will start from this. Treat it like your script.
Step 2: Use Descriptive and Stable Prompting
Now that you’ve defined the character, keep your prompts consistent.
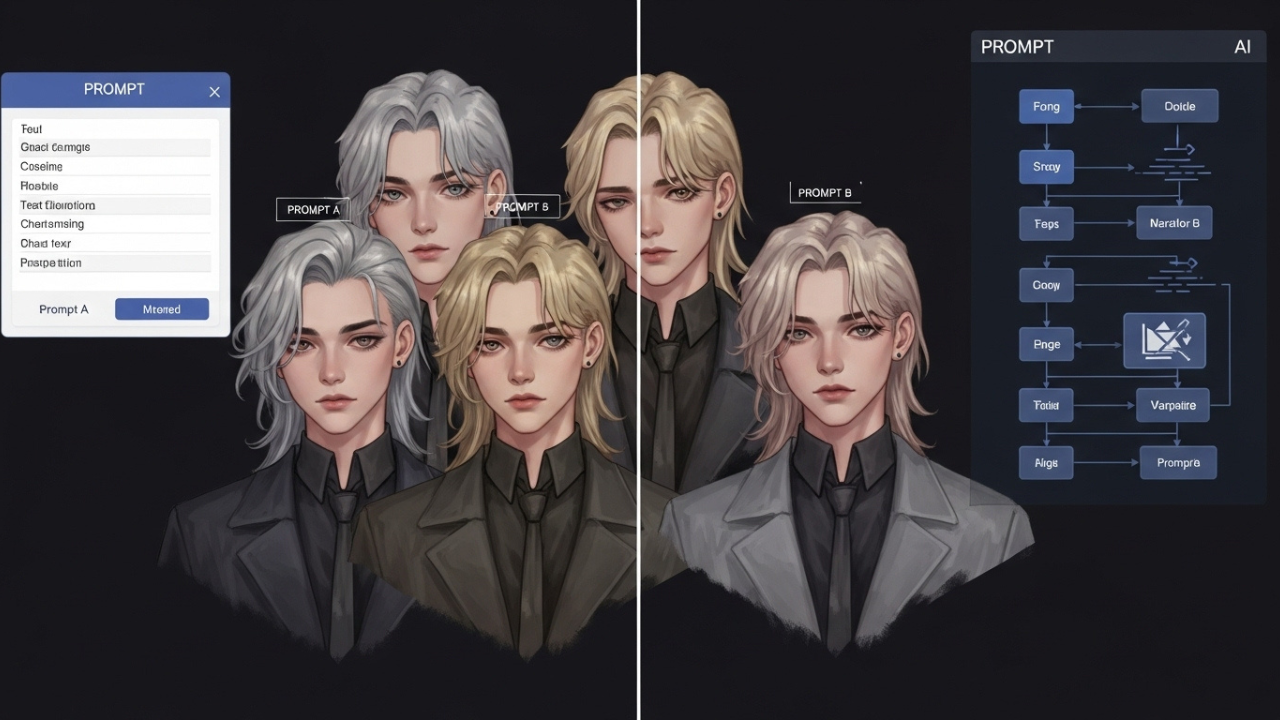
Don’t say “young woman in a hoodie” in one prompt and “silver-haired rebel with dark clothes” in another. Pick a base prompt and build on it only as needed.
Portrait of a 22-year-old lady Lira (short silver hair, golden eyes) wearing a leather jacket and a grey hood and has a calm expression portrait, digital painting
Whenever you make any adjustments (posing, angle, setting), make it one item at a time. Changing too much will confuse the generator and cause character drift.
Keep these anchor points steady:
Hair color/style
Outfit or accessories
Facial structure/expression
Step 3: Choose the Right Tool for Your Needs
Not all AI art tools handle consistency equally. Here’s a quick overview:
DALL·E 3
Very easy to use, strong at general composition
Great for fast prototyping
Limited support for consistency — image-to-image isn’t reliable yet
Midjourney
Excellent for stylistic consistency
Struggles with keeping small character details exact
Good for fantasy, mood-driven art
Stable Diffusion (with extensions like LoRAs or DreamBooth)
Best for repeatable character control
Can be trained on your own data (even 10–20 images is enough)
More setup, but worth it for pros
You have the most control over Stable Diffusion in case uniformity is your top priority. When it is necessary to get the result in a short period of time, you can begin with Midjourney or DALL E and edit it.
Step 4: Use Seed Numbers and Reference Images
One of the simplest ways to get repeatable results is by locking the seed value. Most tools generate a new seed each time — which adds randomness. But if you lock it, you get similar compositions every time.
Here’s how it works:
Generate an image you like
Copy or save the seed number
Use that same seed with the same prompt — and the AI will recreate a similar output
Pair this with image prompts or reference uploads. These help guide the AI by giving it visual context. Some platforms let you blend a reference image with your text prompt. This helps preserve facial structure, pose, or outfit.
Step 5: Inpaint Instead of Starting Over
If most of your image looks good — but one part changed (like the face or hands) — don’t regenerate the whole thing. Use inpainting instead.
Inpainting allows you to choose some certain aspect of the picture and recreate only that area. Tools like RunDiffusion, Leonardo.Ai, and Automatic1111 (for Stable Diffusion) allow this.
Example: you love everything about your character, but the left hand came out weird. Use inpainting to regenerate just the hand. This saves time and preserves consistency.
Real Example: Comic Creator Workflow
Eli runs a small indie webcomic. His main character — a sword-wielding teenager with a blue scarf — looked different in every panel. He spent hours trying to recreate the same look.
Once he defined a clear character sheet and trained a LoRA (a small add-on model) using Stable Diffusion, everything changed. Now he can prompt:
“Character_A in action pose, urban background, blue scarf flowing”
…and get consistent results every time. He stores his prompts, uses reference poses, and edits only what needs fixing.
The result? Faster art, a consistent character across all scenes, and more time to focus on storytelling.
My Opinion
After working with AI art tools across different projects, one thing has become clear: consistency isn’t something you get by chance — you have to build it. At first, I thought just writing better prompts would solve it. But characters kept changing. Faces looked great one day, unrecognizable the next.
What I’ve learned is that AI is powerful, but it needs structure. When I started defining my characters clearly, saving my best prompts, and using tools like seed values and image references, everything changed. The results felt more professional — and I wasted less time fixing details.
It was also an intimidating prospect to train a custom model, but as it turns out, this step has become the most stable one in my project. I can create scenes, promo images, even comics — and my characters stay who they’re meant to be.


